Atomic Modeling with GAMGI
For this article, I'm moving back into the realm of chemistry software—specifically, the General Atomistic Modelling Graphic Interface, or GAMGI. GAMGI provides a very complete set of tools that allows you to design and visualize fairly complex molecules.
GAMGI has the special ability to make creating repeating structures much easier, which is handy when you're trying to create crystalline structures.
GAMGI should be available in the package repositories of most Linux distributions. For example, on Debian-based distros, you can install GAMGI with the following command:
sudo apt-get install gamgi
There are also data and documentation packages (gamgi-data and gamgi-doc), and when you first start to use GAMGI, it's a good idea to install those packages as well.
Once the packages are installed, you can start GAMGI from the command line or from your desktop environment's menu system. When it starts up, you get a blank canvas to begin your work.
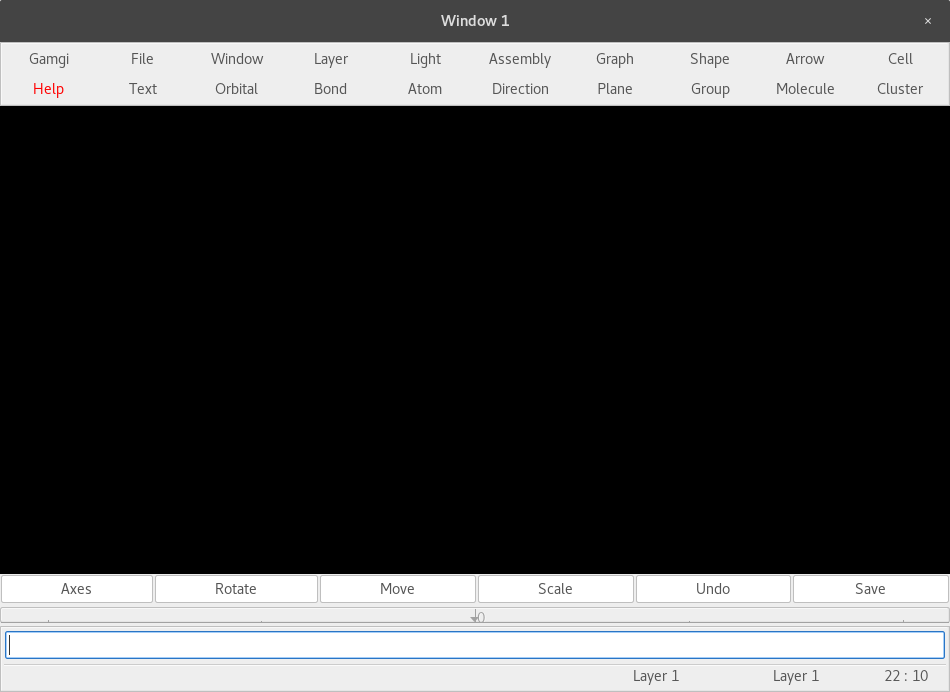
Figure 1. When you start GAMGI, you get a minimal set of tools to help begin your project.
This interface is probably one of the more minimal ones of the chemistry packages that you are likely to use, but it hides all of the functionality that is present within GAMGI. It is object-oriented, in that all of the main elements are treated as independent objects, with properties and relationships to other objects. These elements include atoms, bonds, molecules and crystal planes. Each of them are built up of a number of the earlier ones. One extra piece that GAMGI has is the ability to work with orbitals. Let's walk through an example of a salt crystal (NaCl) to show how you can use GAMGI to do graphical analysis.
When looking at a crystalline structure, you'll want to start by creating a cell in the window. You do this by clicking the Cell→Create menu item. Then you'll get a pop-up window where you can set several properties of the new cell.
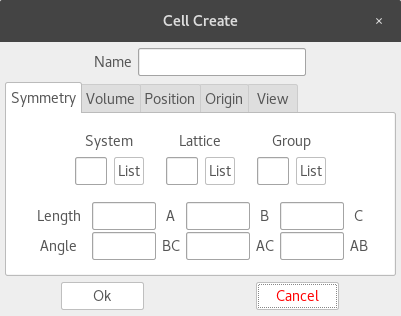
Figure 2. When you create a new cell for crystal structures, you can set several different properties on how it will be constructed.
Since salt is a cubic crystal, you'll want to set the system value to c (for cubic), and set the lattice value to F (for face-centered). For each of these, you can get a full set of allowed values by clicking the associated "List" button. Clicking Ok creates the cell.
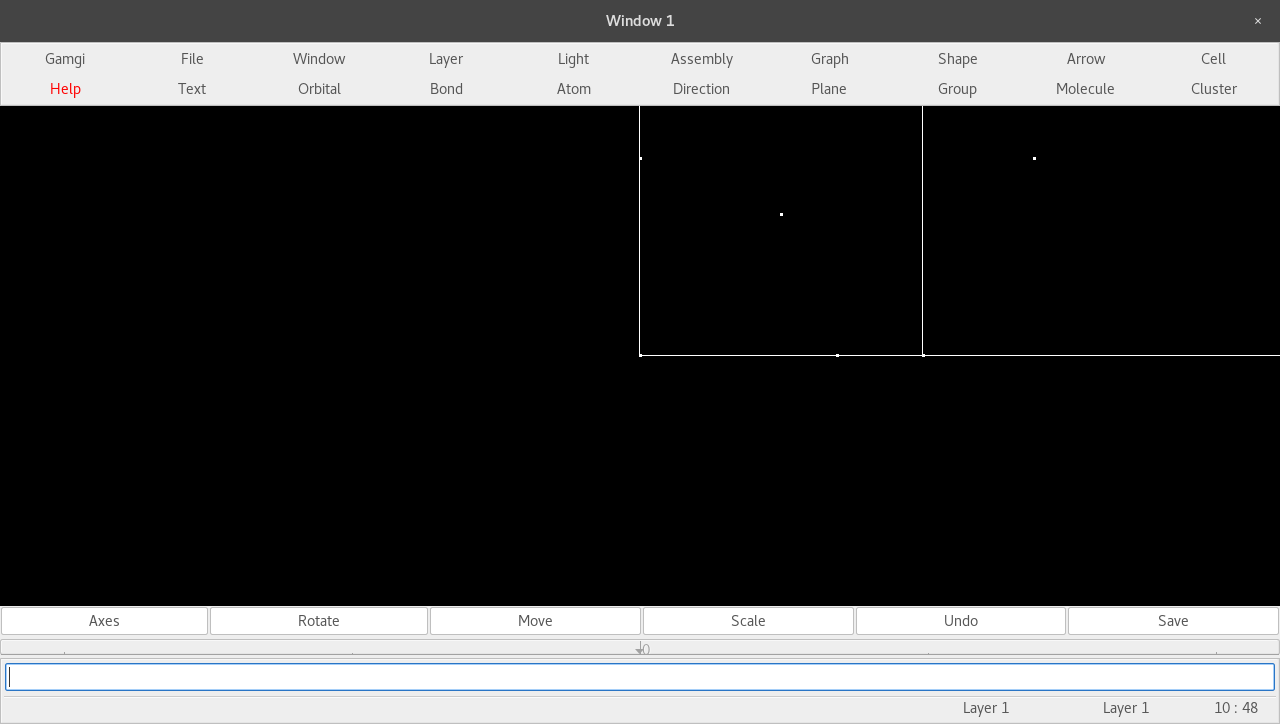
Figure 3. Creating a new cell will draw the specified structure in the main window.
The next step is to start populating it with atoms. Click Atom→Create, which will pop up a new window where you can set all the properties of the new atom.
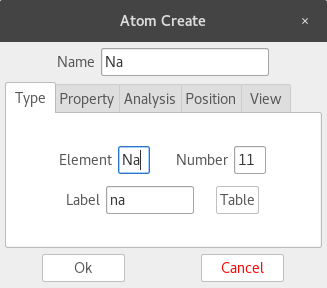
Figure 4. You can select which element your atom should be, along with several other properties.
Clicking the Table button pops up a periodic table where you can select an element. This populates all the known values to give you a starting point. Select the View tab of the pop-up window, and change the style to solid, the size to 1.0 and the variancy to 1.0. Next, click the Property tab to change the size value. This is because the sodium atom is ionized, so it's physically a different size.
Once everything is set correctly, you can click in the window to create your sodium atom. You can repeat this process to create the chlorine atom. You'll also need to change the radius to 1.810, since the chlorine atom is also ionized. Then link these atoms to the crystal cell so that GAMGI knows how to lay out the given atoms. Clicking Cell→Link pops up a window where you can link in the atoms associated to this cell.
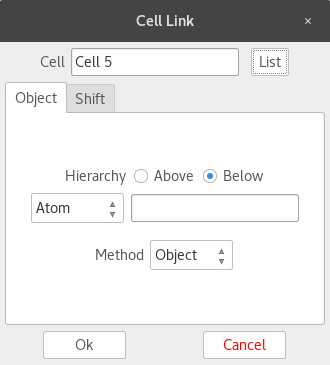
Figure 5. For crystalline structures, you need to link the related atoms to the cell to show their relationships.
In this case, you'll want to change the linking method to crystal. Next click the cell and then the sodium atom. The relevant fields in the pop-up window will become populated with the associated values. Now you can tell GAMGI where these sodium atoms are supposed to be by clicking the Position tab and changing the X value to 0.5. When you click OK, GAMGI will populate the crystal cell with the required sodium atoms. Next, repeat this process for the chlorine atoms, except leave the position as 0.0 for all three coordinates.
At this point, the displayed crystal structure is not very clear. You need to add a light source so that GAMGI can do a proper rendering of the crystal. Click Light→Create to pop up a window where you can define what kind of light source you want to use in the rendering process.
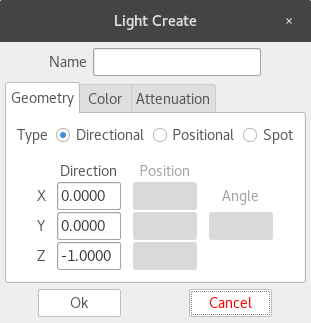
Figure 6. To do a proper rendering of your molecular structure, you'll need to set up one or more light sources.
Now that you've finished your crystal, you can do some analysis work on it. Click Atom→Measure to get a new window where you can use GAMGI to do some calculations based on the resultant structure.
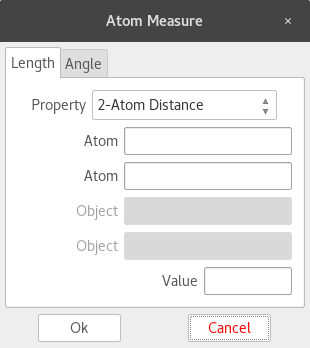
Figure 7. You can get measurements of the molecule you created, such as bond lengths and angles.
With the window open, click on two atoms and see the distance between them. Clicking the Angle tab lets you click on three atoms and find the angle between them. In this case, the distance between neighboring sodium and chlorine atoms is 2.8300, while the angle formed at the corners of the crystal is 90.00 degrees.
Other options are available. For example, if you click Molecule→Create, you'll get a window where you can create entire molecules.
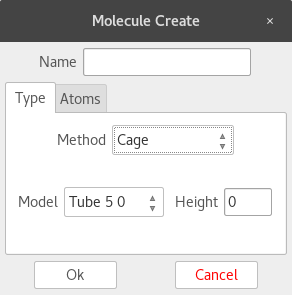
Figure 8. You can create more complicated molecules, such as graphene.
Let's go ahead and create a graphene cage. First, you get a ball of carbon atoms. You can see the ball's properties by clicking Molecule→Measure. Once the window pops up, click the molecule to see a list of all of the bonds, angles and torsions. Then you also can modify the individual atoms. Clicking Atom→Modify pops up a window, and if you then click on an atom, you can modify it to something else, such as silicon. This changes the relevant bonds in that area, so it changes the entire geometry. Now, when you open up the Molecule Measure window, it will reflect those changes.
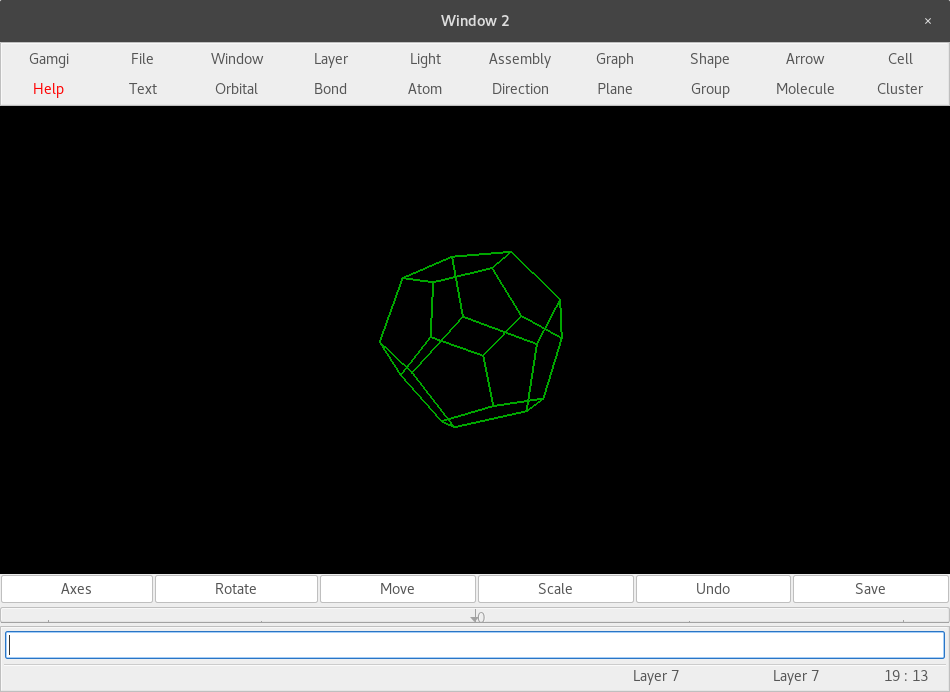
Figure 9. More complex molecules are displayed as a wire-frame by default.
Hopefully, this gives you a taste of what you can do with GAMGI. One of the more unique features is that it actually does the angle and distance calculations based on the ionic state of the atoms involved. In this sense, it is a more scientifically-based chemistry imaging program.


